
Intraoral scanners have become an increasingly popular alternative to traditional dental impressions in recent years. When used properly, digital intraoral scans can provide highly accurate and detailed 3D models of a patient's teeth and oral cavity. However, getting clean, complete scans takes some technique and practice. In this guide, we’ll walk through the step-by-step process for capturing accurate intraoral scans on your first try.
Step 1: Prepare the Intraoral Scanner
Make sure the scanning wand and attached mirror are clean and disinfected before each use. Carefully inspect for any residual debris or fogginess on the mirror.
Step 2: Prepare the Patient
Before you start scanning, make sure your patient is comfortable and understands the process. Explain what they should expect during the scan and how long it will take. Remove any removable appliances such as dentures or retainers, clean and dry the patient's teeth to ensure there are no blood, saliva or food that could interfere with the scan.
Step 3: Adjust Your Scanning Posture
To achieve a good scanning, your scanning posture matters. You should decide whether you prefer to stand at the front or sit at the rear while scanning your patient. Next, adjust your body position to match the dental arch and the area you are scanning. Make sure that your body is positioned in a way that allows the scanner head to remain parallel to the area being captured at all times.
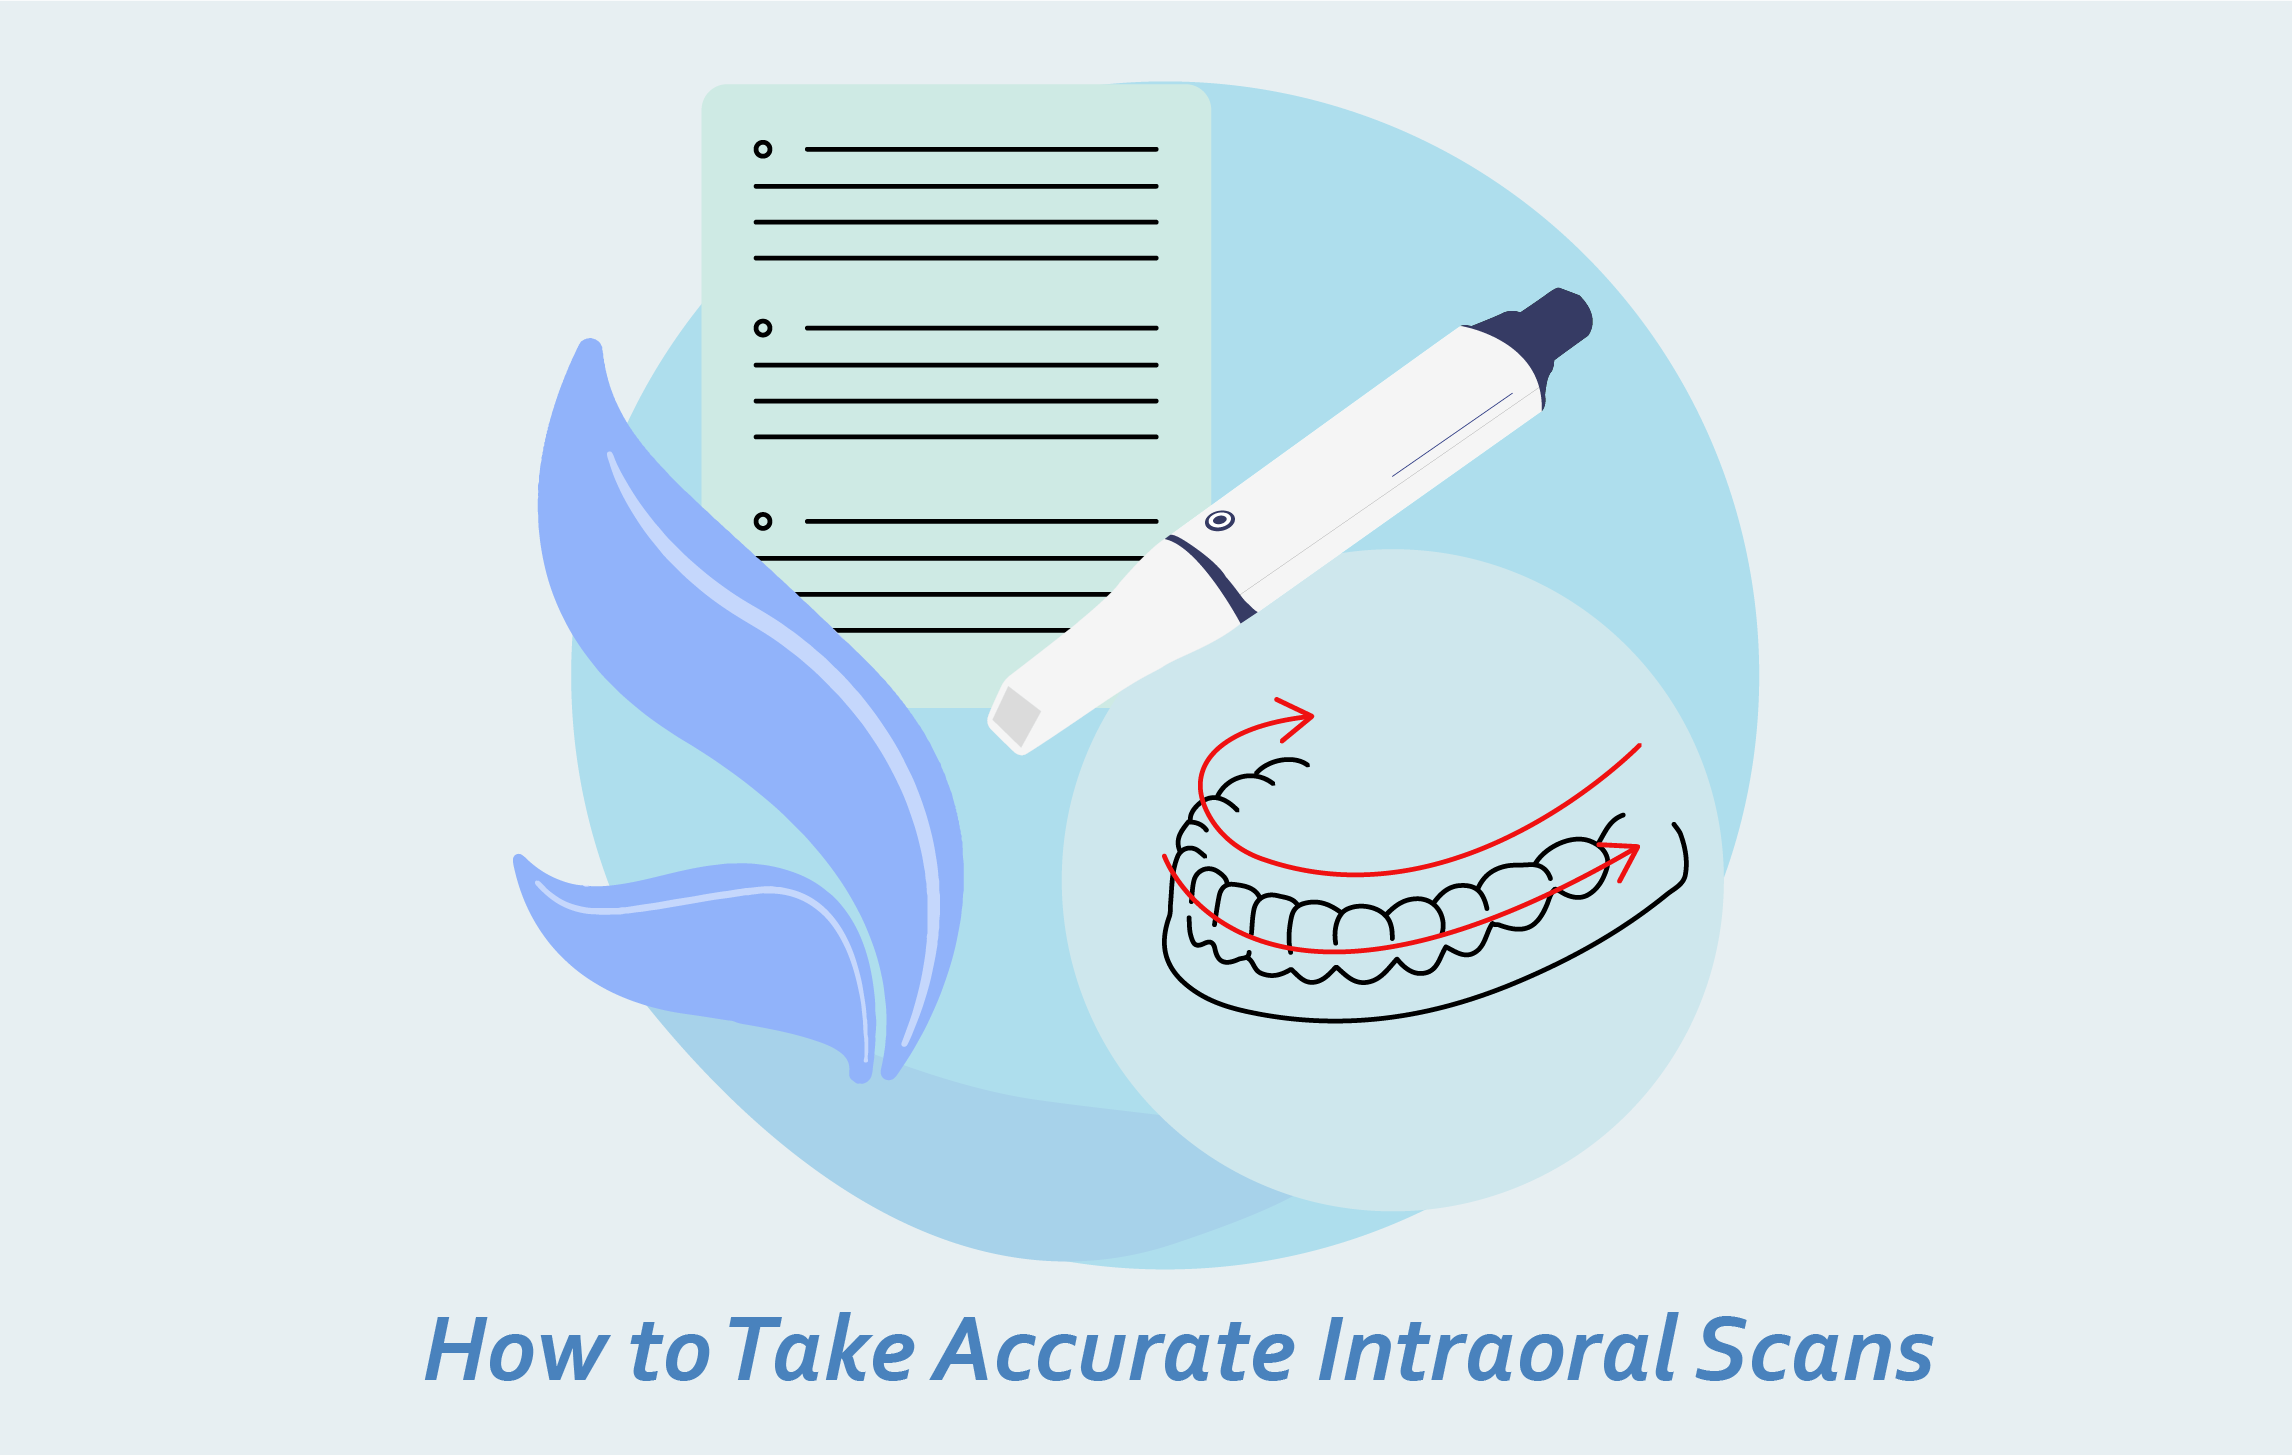
Step 4: Starting the Scan
Starting at one end of the teeth (either the back of the upper right or upper left side), slowly move the scanner from tooth to tooth. Ensure that all surfaces of each tooth are scanned, including the front, back, and biting surfaces. It's important to move slowly and steadily to ensure a high-quality scan. Remember to avoid sudden movements, as they can cause the scanner to lose track.
Step 5: Check for Any Missed Areas
Review the scanned model on the scanner screen and look for any gaps or missing areas. If needed, rescan any problem spots before moving on. It's easy to rescan to complete the missing data.
Step 6: Scanning the Opposing Arch
Once you've scanned the entire upper arch, you'll need to scan the opposing lower arch. Ask the patient to open their mouth wide and position the scanner to capture all the teeth from the back to the front. Again, ensure that all tooth surfaces are properly scanned.
Step 7: Capturing the Bite
After scanning both arches, you'll need to capture the patient's bite. Ask the patient to bite down in their natural, comfortable position. Scan the area where the upper and lower teeth meet, ensuring you capture the relationship between the two arches.
Step 8: Review & Finalize the Scan
Take a final look at the complete 3D model on the scanner screen to confirm everything looks accurate and aligned. Make any small touch-ups if needed before finalizing and exporting the scan file. You can use the scanner software's editing tools to clean up the scan and remove any unnecessary data.
Step 9: Saving & Sending to Lab
After reviewing and making sure the scan is perfect, save it in the appropriate format. Most intraoral scanners will allow you to save the scan as an STL file. You can then send this file to your partner dental lab for the fabrication of dental restorations, or use it for treatment planning.
Following this structured approach helps ensure you consistently capture precise, detailed intraoral scans for restorations, orthodontics or other treatments. Remember, practice makes perfect. With some practice, digital scanning will become quick and easy for both you and the patient.
Interested in experiencing the power of digital scanning in your dental clinic? Request a demo today.
Post time: Jul-20-2023


